Creating a website with Hugo, Netlify and Forestry.
Having a personal website is a must for almost everyone nowadays especially if you are a software developer or related into computer. In most cases having a simple blog/website will cost money and time, I’ve developed five or more personal websites for myself but always it came up with a problem and they did not last more than a couple of months, so I decided to share my super easy and fast experience with you.
First of all, let me tell you that we will use Hugo, an open-source and super fast static site generator written in Golang, for converting structured markdown files into styled and themed HTML pages. Let’s pick a theme from official themes in Hugo themes, don’t be sensitive you can customize all of it later, I pick a minimal theme named Vanilla.
Step 1:
Make a new directory and git init inside it. Then I add the theme as a git sub-module:
git submodule add https://github.com/zwbetz-gh/vanilla-bootstrap-hugo-theme.git themes/vanilla-bootstrap-hugo-theme
Step 2:
Grab the config file with any of these extentions: .yaml .yml .json .toml from your chosen theme’s exampleSite directory and paste it to root directory of project also similarly copy the content folder into root project, take a look at the config file and change them as you wish.
You can also create a netlify.toml file with following content to have a build script:
[build]
publish = "public"
command = "hugo --gc --minify"

[context.production.environment]
HUGO_VERSION = "0.72.0"
HUGO_ENV = "production"
HUGO_ENABLEGITINFO = "true"

[context.split1]
command = "hugo --gc --minify --enableGitInfo"

[context.split1.environment]
HUGO_VERSION = "0.72.0"
HUGO_ENV = "production"

[context.deploy-preview]
command = "hugo --gc --minify --buildFuture -b $DEPLOY_PRIME_URL"

[context.deploy-preview.environment]
HUGO_VERSION = "0.72.0"

[context.branch-deploy]
command = "hugo --gc --minify -b $DEPLOY_PRIME_URL"

[context.branch-deploy.environment]
HUGO_VERSION = "0.72.0"

[context.next.environment]
HUGO_ENABLEGITINFO = "true"
Create a new repo on gitlab or github and push the project into it.
Step 3:
Ez huh? Let’s deploy it into awesome Netlify.
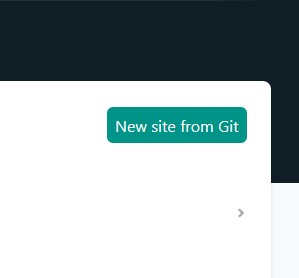
Go to Netlify website and login via github or gitlab, after login, click on new site from Git:
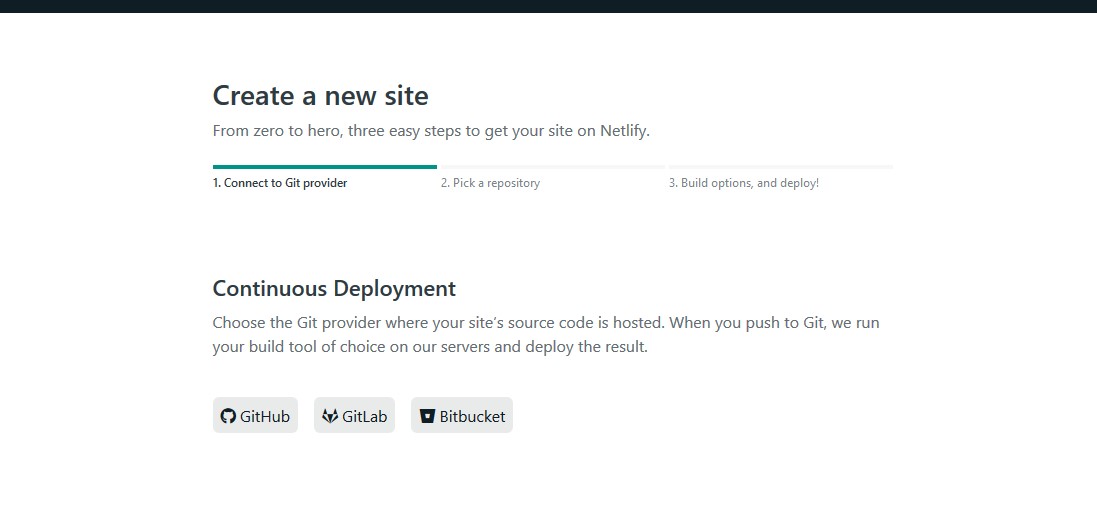
Then select the git server of your site repository for a Continuous Deployment:
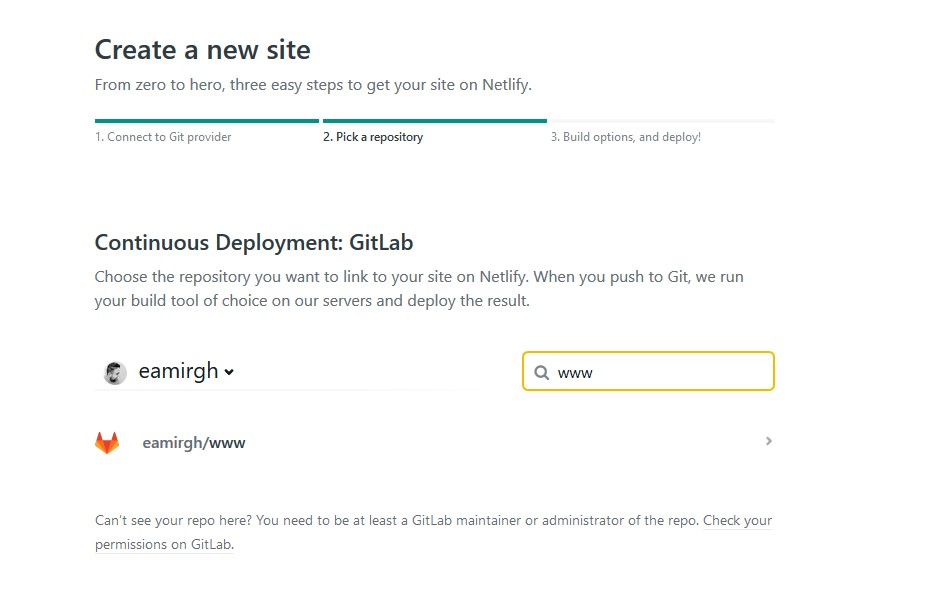
Then allow giving permission to Netlify and select the repo you had created:
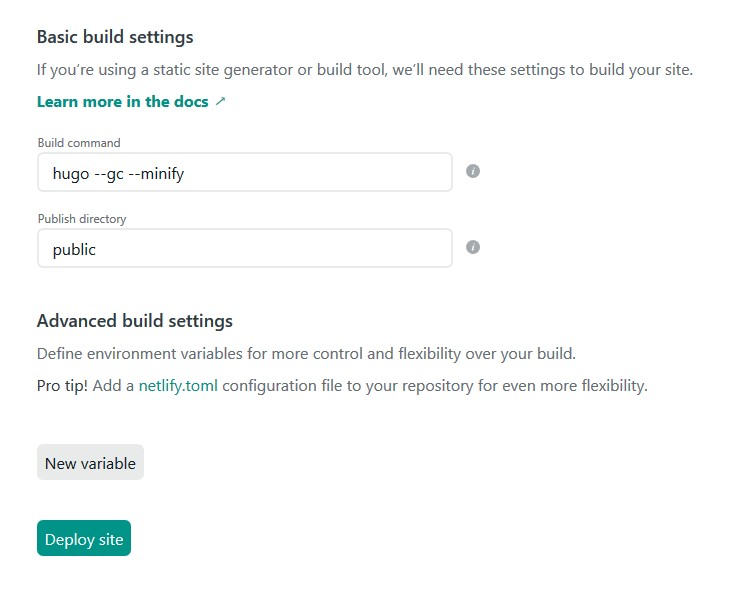
In the build options enter the shown config if they are not already set and click deploy site.
Congratulations! You have just deployed your site. Now Let’s connect to your domain.
Step 4:
Click on Setup domain in the steps and enter your domain and click verify.

After adding the domain you will be redirected to domain management page it will show you something like this:
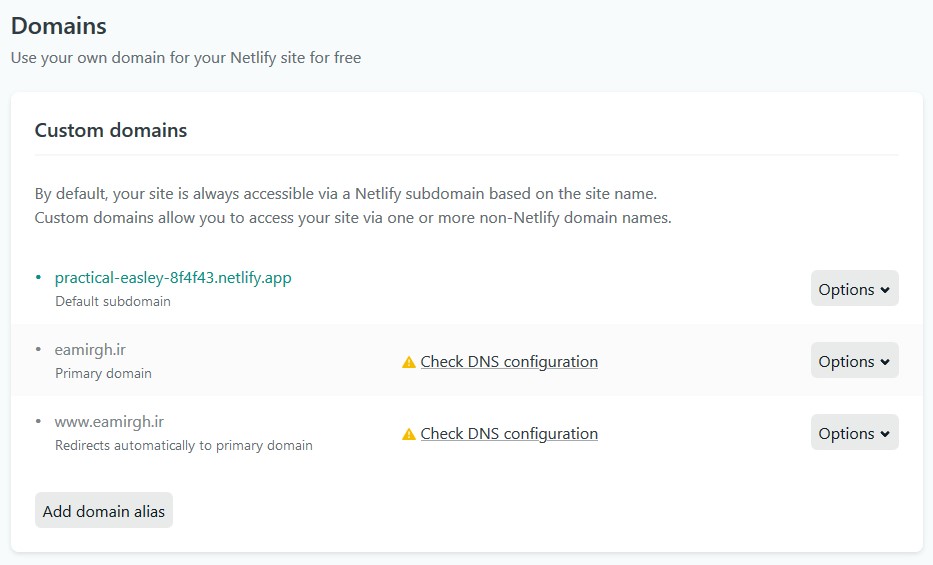
Go to your domain’s DNS provider website and add two CNAME records with values of @ and www forwarding to your Default netlify subdomain which in my case is practical-easley-8f4f43.netlify.app as you can see from image above.
Alternatively you can add an A record with value of @ forwarding to 104.198.14.52and that is nicely done!
Step 5:
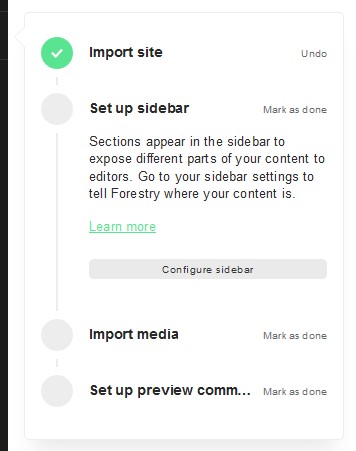
Now we have our website setup, how can we add posts or edit content as a real site? Well, we need a CMS, there are many options such as Netlify CMS and forestry, we will use forestry as our CMS, go to forestry’s website and login via github/gitlab. Click on add site select Hugo and select the latest version of Hugo then login to your git account and select your repository after that in the following popup click mark as done for all options:
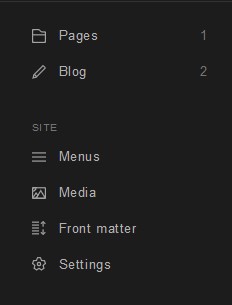
Done! Now you can add pages and posts to your website and blog.
Checkout the sidebar:
And guess what! I am posting this post with exact same config :D.
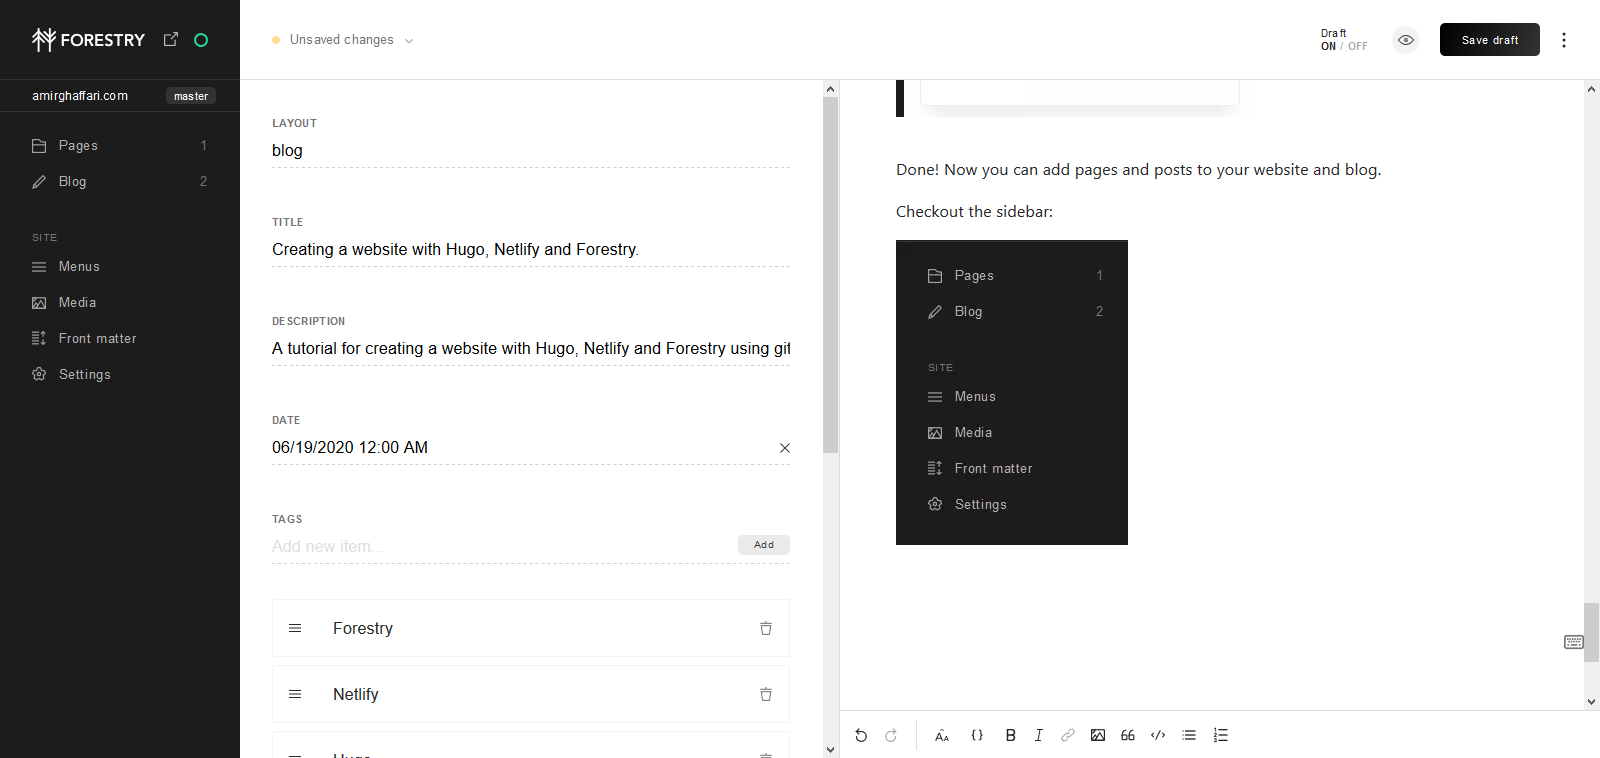
Even my blog is open source and you can contribute to it. Cool! huh? :))))))
Check it out: